


Food plating is a refined art with a rich history. The Japanese tradition of Kaiseki – a multi-course dining experience featuring an array of intricate and aesthetically-pleasing dishes based on the five colors of red, white, green, black, and yellow - is one of the finest examples. Such plating techniques take many years of practice to master. However, there are a number of ways to begin this process to take dishes from mundane to masterful.
Understanding Why Food Plating is Important
Historically, food was presented in overly elaborate and ornate ways to represent wealth and one’s status in society. Today, the focus has shifted to display a chef’s creative abilities as well as enhance the customer’s overall food experience.
Professional chefs intimately understand people employ more than just their taste buds when consuming dishes. Their sense of sight is just as important. Creating beautiful dishes – whether simple or complex – holds real power in heightening the taste of meal and it is a skill most expert chefs aspire to develop.
What is Food Plating?
Food plating refers to the skill of modifying food to augment its aesthetic appeal. In a professional kitchen, this begins during food preparation. As an example, a chef will truss meat in a certain way to be able to achieve the right look on the plate before it’s served. Or they will utilize specific cutting techniques when preparing fruits and vegetables to create intricate garnishes.
The chef directs food plating according to their own sensibilities, traditions and cuisine. Today, many chefs also incorporate stylings based on trends such as molecular gastronomy.
Essential Tools for Food Plating
To develop food plating techniques to a professional level, it is essential to possess the right tools. Many can be found in everyday kitchens but there are others that serve very specific purposes and can be purchased from professional suppliers.
A food plating toolkit should consist of:
- Different Sized Spoons: to precisely place food. Large spoons are particularly adept at creating smears
- Set of Brushes: Opt for a few different sizes to assist in creating narrow or wide smears/spreads
- Palette Knife: The rounded edges are good for transporting small items of food to the plate
- Small Sauce Squeeze Bottle: Good for creating dots or lines of sauce
- Ring Mold: To achieve the right height, shape foods and create stacks
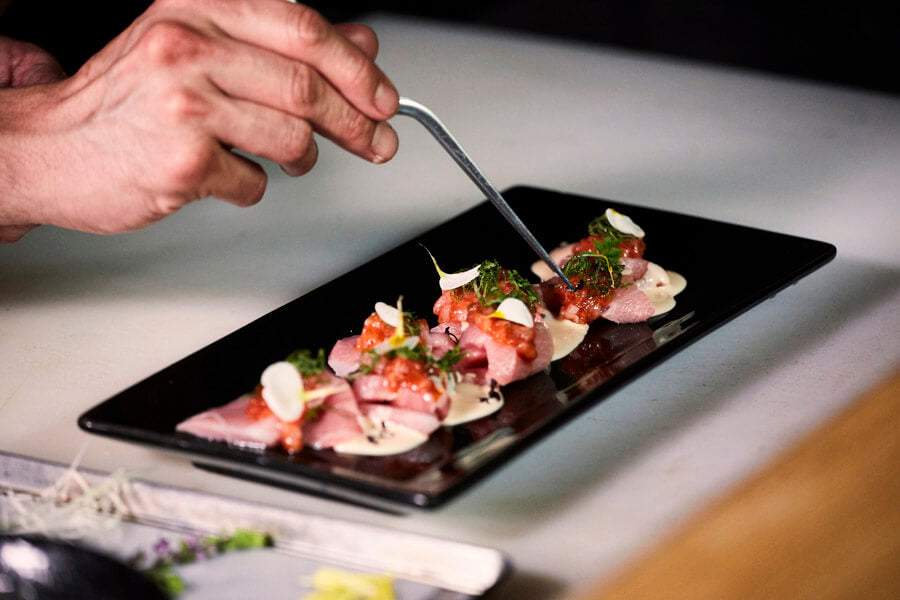
- Tweezers/Tongs/Chopsticks: For delicate placement of items such as leaves or micro herbs
- Fine Grater: For shavings (ie chocolate, cheese or citrus)
- Scissors: For faster and finder cutting
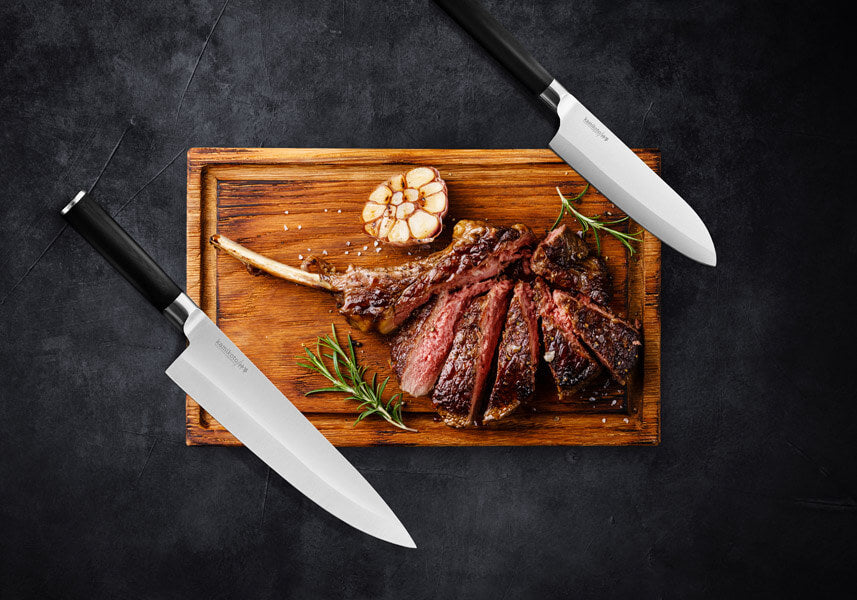
- Knives: A professional set of knives always includes a paring knife which is essential for fine work such as vegetable garnishes
- Small Towel / Napkins: To erase mistakes and finger smudges
Methods of Plating Food
The choice to plate food in a certain way relies upon many factors, not least of which is the cuisine. However, in the majority of cases, there are two broad rules to follow:
The rule of thirds – fill 2/3’s of the plate with food and leave the remaining third blank (the space helps to frame the food)
Avoid placing food on the rim of the plate

In terms of styling, what follows is a brief collection of some of the most used-techniques in professional kitchens throughout the world today. Keep in mind though that there are a number of other variations.
Different styles of plating
Classic
Following the outline of a clock face, the main protein is placed at six o'clock, the vegetable at two o'clock and any starch at eleven o'clock.
Free form
This is a more fluid style of plating incorporating a variety of techniques. Food is positioned in a seemingly random way to appear naturalistic.
Kaiseki
This type of food styling has over 400 years of Japanese tradition behind it. As the meal comprises multiple courses based on five specific food colors - as well as a confluence of different textures, shapes and sizes - food is typically separated into multiple plates and dishes. Height is used as a distinguishing feature to great aesthetic effect. Many tasting menus in renowned establishments worldwide utilize a similar concept to Kaiseki.
Different plating techniques
Lines – horizontal and vertical
Trios – good for smaller plates of food
Arcs/swirls – excellent for giving the illusion of movement
Stacks – height adds instant visual appeal
Deconstruction – often used in desserts. It offers the chef a chance to interpret a traditional dish in their own way.
Note: many chefs employ a combination of plating techniques, for example an arc and line may compliment each other in many dishes.
Step-by-Step Guide to Food Plating
Step 1. Consider type of food, timing and balance
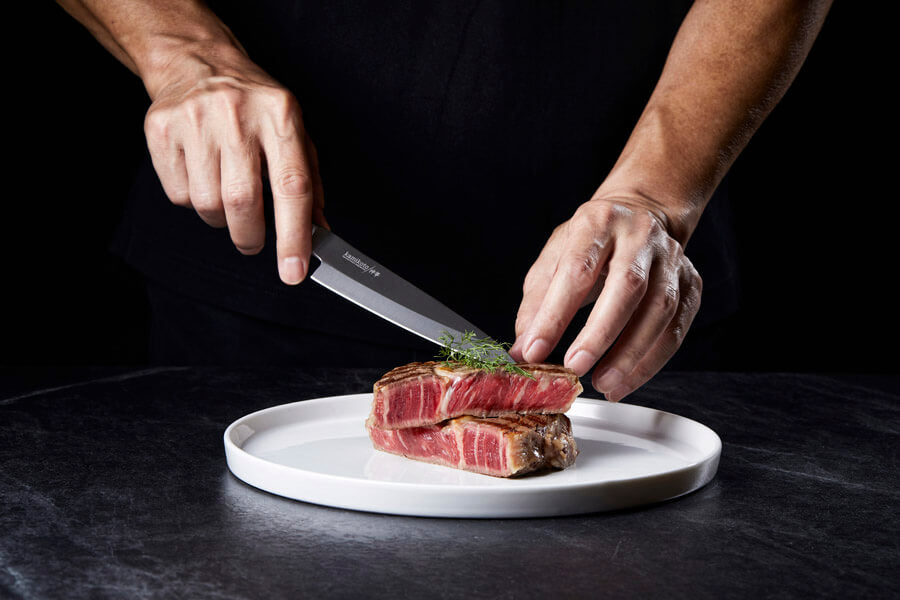
The final outcome of dish will be determined by the food itself. It would be a mistake to plate a beautiful cut of prime steak buried underneath a mountain of mash potato. Similarly, the beauty of a selection of skillfully sliced sushi would be lost in a deep-sided bowl.The next consideration is timing. Plating should take between 30 – 45 seconds to maintain the integrity of the ingredients, both in texture and temperature. It stands to reason that all elements of the dish must be ready before beginning plating. This is where practice is paramount. Not only in how long it takes to plate the final dish, but in juggling the timing of the preparation of all elements.
Lastly, give attention to balance. What is the best way to hero the main ingredient - or focal point - of the dish? How many elements are enough without overcrowding the plate? This takes a certain amount of experimentation and of course, practice to perfect. Professional chefs spend hours honing a particular dish to achieve their desired plated outcome.
Once all of these things have been determined, it is relatively easy to decide on the most appropriate plating style and technique/s from the list mentioned above.
Step 2. Choose the right vessel (plate, bowl or other)

Selecting the wrong plate can ruin the overall aesthetic of a dish. One that is too small for all items will produce a messy finish; one that is too large will dwarf the ingredients.
Consider these aspects in choosing the right dish:
Shape
Choose according to food type, for instance, plate ramen in a wide open mouthed bowl.
Size
Match it to food type but also to portion.
Color
Most chefs opt for white to allow the vibrant colors of the food to star. However, in today’s culinary world, there is a proliferation of plate colors used in professional kitchens. There are no set rules, with some restaurants even opting to custom-design their serving ware.
Temperature
Heating or cooling plates before plating helps to maintain food flavor and temperature during the plating process.
Appearance
It almost goes without saying, but all plates should be spotlessly clean and free of fingermarks when plating is completed.
Step 3. Positioning the focal point
The position of the food will be dictated by style and plating technique. Generally speaking, the first step to consider is the placement of the focal point of the dish. Many chefs employ the ‘rule of thirds’ as mentioned above, placing the focal point piece on either the left or right-hand side of the plate (not the center). The rest of the elements can then be placed in direct relation to this focal point.Note: if incorporating a smear or using a puree to anchor the focal point, employ these techniques before placing the main ingredient.
Step 4. Positioning all other main ingredient elements
There are a few things to consider for the remaining elements.
Contrast: both colors and textures act as contrast tools when plating. Use vibrant vegetables or fruits as accents and mix in different textures too – for instance, smooth and crunchy.
Height: stacks or heaped piles of ingredients are two ways to achieve this but another is to use angles. For example, rest taller vegetables on an angle against the flat focal ingredient.
Odd numbers: placing an odd number of food on a plate is more aesthetically pleasing than even numbers. It also creates the illusion of more food.
Avoid overcrowding: less is more when it comes to food plating. Let the main ingredient feature with any others elements playing a secondary role.
Step 5. Decorating sauces or purees
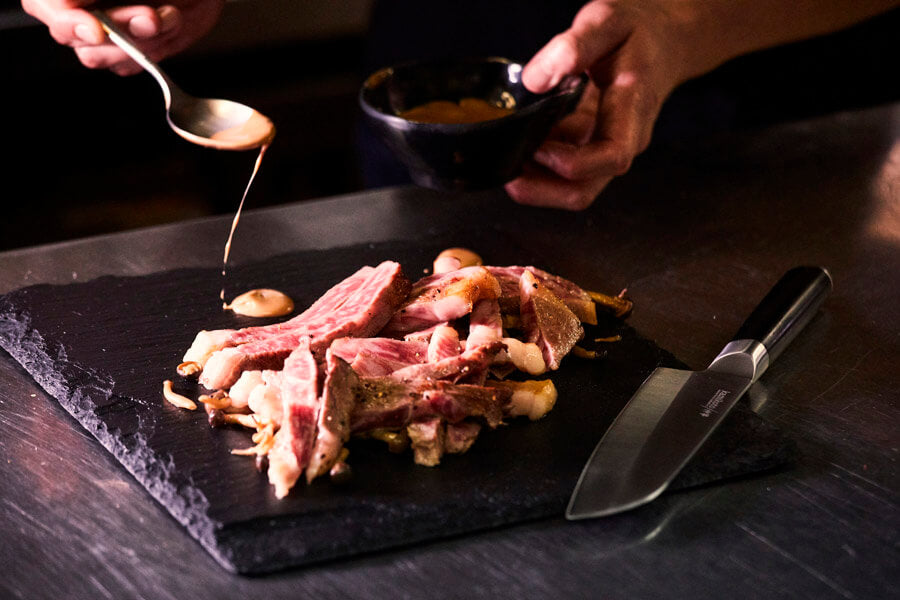
If the dish benefits from a large amount of sauce, consider using a separate jug to avoid the risk of drowning the main one.
Step 6. Adding garnishes
Garnishes should be viewed as a way to add a finishing touch of color, texture and taste. They should add to the dish, rather than detract, so think carefully about each one. Micro herbs are an appropriate example. A heap of curled parsley is not.
Common Food Plating Mistakes
- Lacking a visual plan of how the final dish will look (try sketching it out beforehand)
- Failing to practice
- Overcrowding the plate
- Choosing the wrong vessel to hold the dish
- Being too liberal with sauces so the food is swimming in sauce
- Taking too long to plate at the expense of food temperature, thus flavor
- Using garnishes purely for aesthetics (they should be edible and complement other ingredients)